Practical Guides for Restaurant Success
Learn the exact steps to build your menu, invite your team, print high-quality QR codes, and connect custom domains.
Create your first venue
Prerequisites
A modern web browser and your restaurant details.
Step-by-step setup instructions
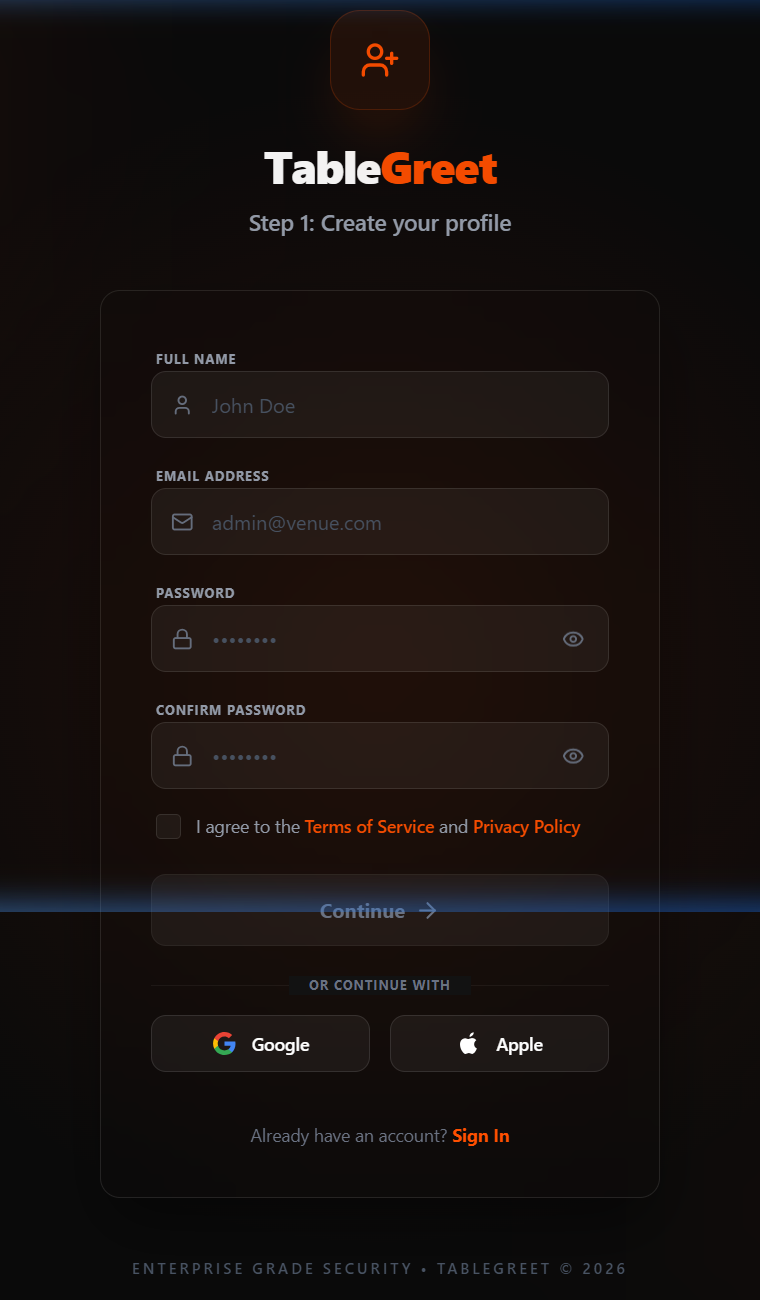
Start by registering your account at https://app.tablegreet.com/register. Enter your full name, work email address, and account password, then accept the Terms of Service to create your profile.
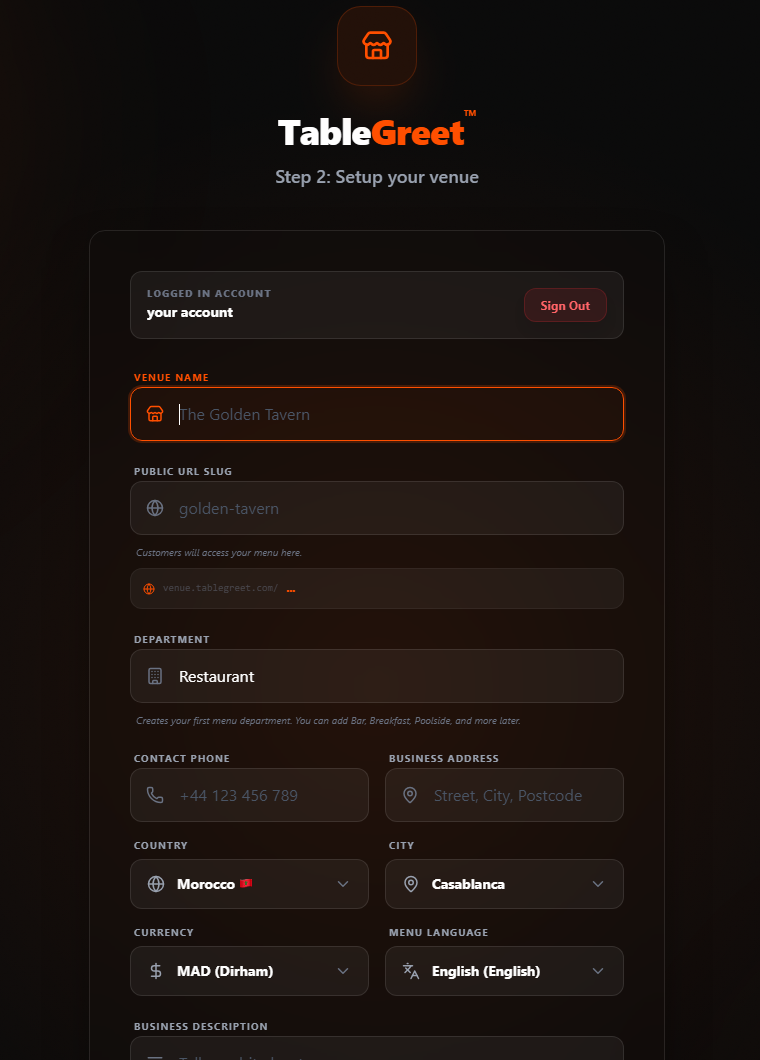
Set up your venue details: enter your venue name, custom public URL slug, primary department (e.g., Restaurant, Cafe), contact phone, physical address, country, city, operational currency, and primary menu language. Click "Complete Setup".
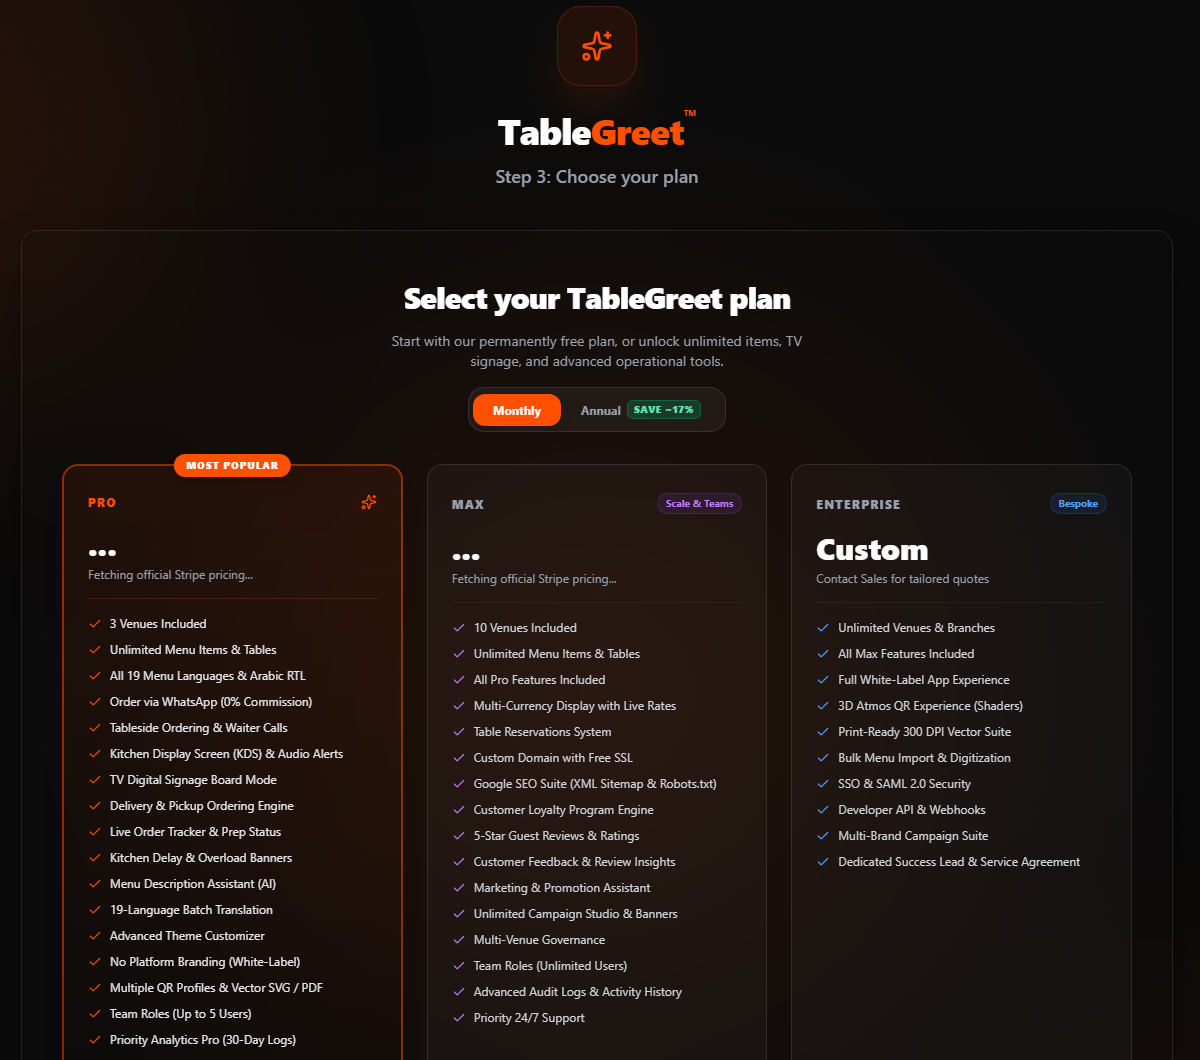
Choose your subscription plan (Pro, Max, or Enterprise) to unlock advanced tools, or click "Skip for now, continue with Starter Free plan" at the bottom to continue completely free with no expiration.
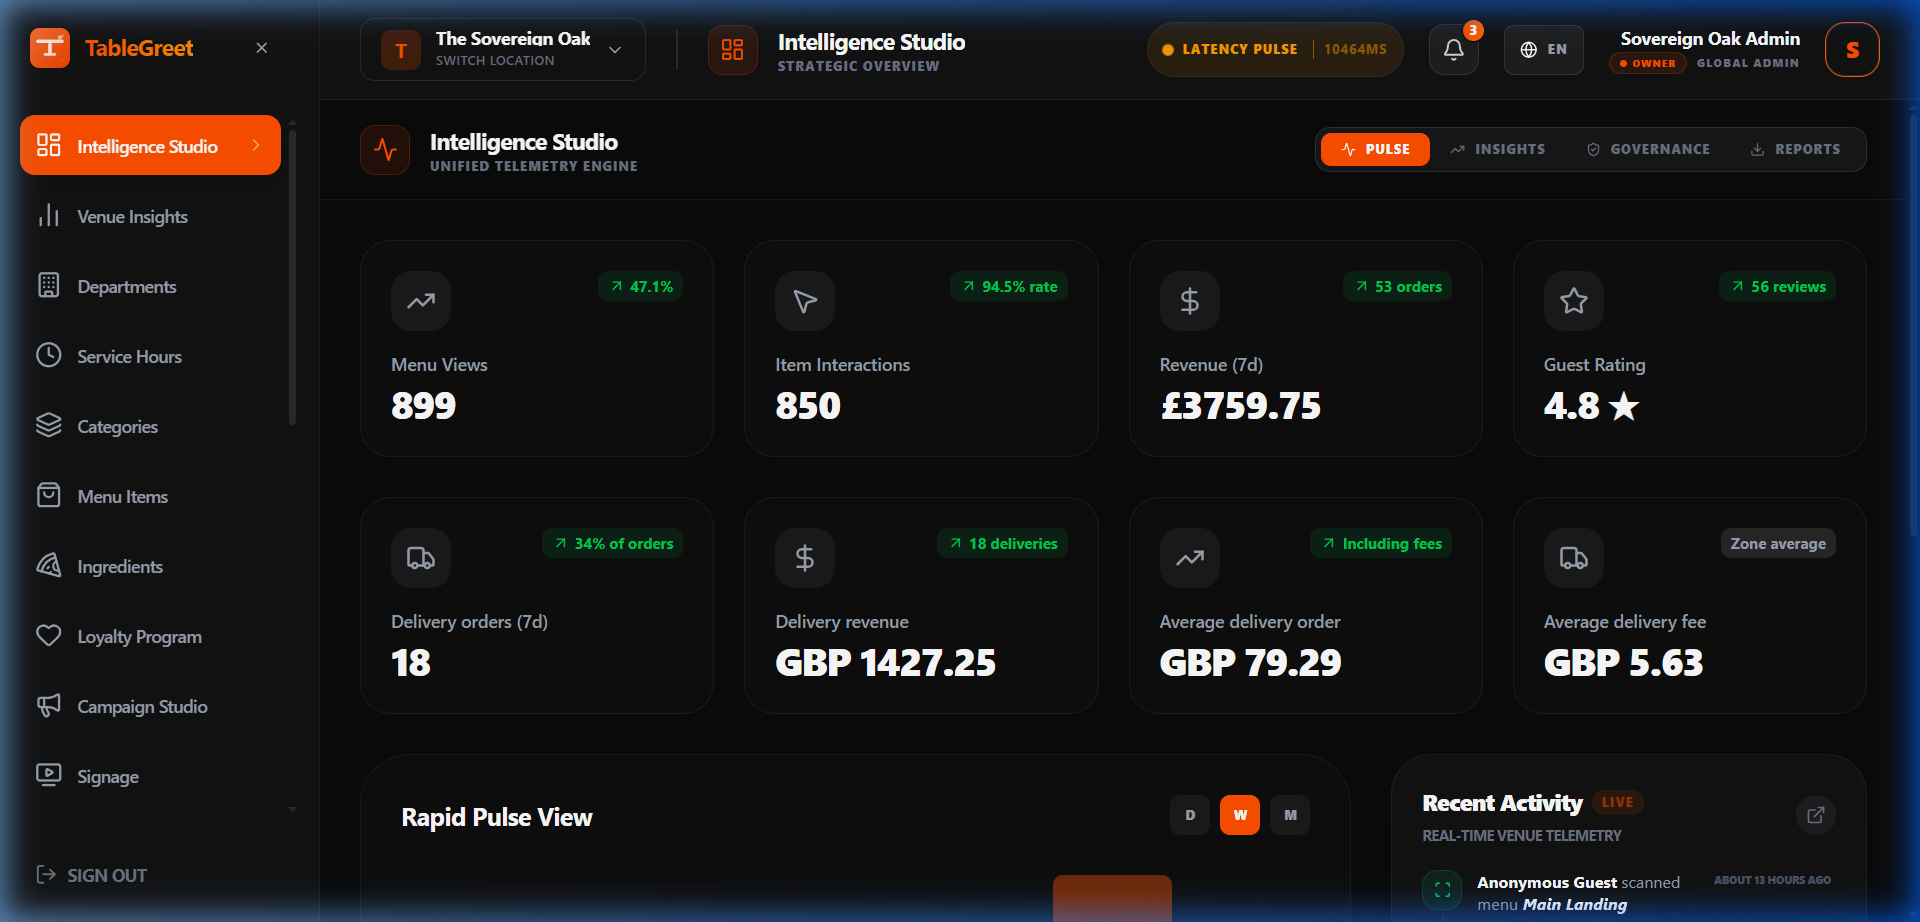
You will be redirected straight to your Venue Admin Dashboard. From here you can start adding categories, creating menu items, and generating QR codes.
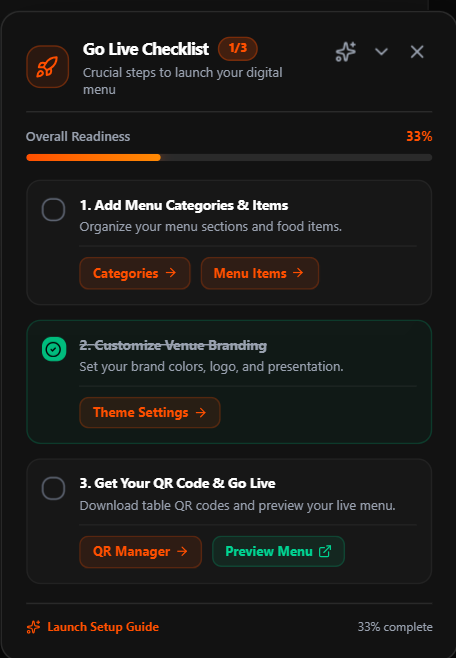
Follow the docked "Go Live Checklist" in the bottom corner of your dashboard to complete the crucial launch steps: organize menu categories & items, customize your venue branding in Theme Settings, and download your table QR codes to go live.
Pro Tip
The Starter plan is permanently free with no expiration date, allowing you to launch and test your digital menu with zero upfront cost.
Still need help?
Connect with our technical support team to resolve complex DNS connections, SSO configuration, or layout adjustments.